


A step-by-step guide
In today's competitive business environment, an efficient marketing and CRM platform is crucial. Glowedge offers a comprehensive solution with powerful features and an intuitive interface. This guide will help you get started with Glowedge, so you can effectively improve your business operations.
What is Glowedge?
Glowedge is an all-in-one CRM and marketing automation platform. It consolidates various tools like email marketing, SMS marketing, funnel building, and website creation into a single platform, promoting efficiency and cost savings.
Why choose Glowedge?
Glowedge stands out for several reasons:
- All-in-one solution: Combines multiple marketing and CRM tools.
- User-friendly interface: Easy to navigate, even for beginners.
- Customizable: Adapts to your business needs.
- Automation: Reduces repetitive tasks and errors.
- Cost-effective: Offers great value compared to separate tools.
- Outsourcing solutions: Offers marketing outsourcing options, allowing entrepreneurs to collaborate with a Customer Success Manager for comprehensive support.
Steps to get started
Step 1: Sign up for Glowedge
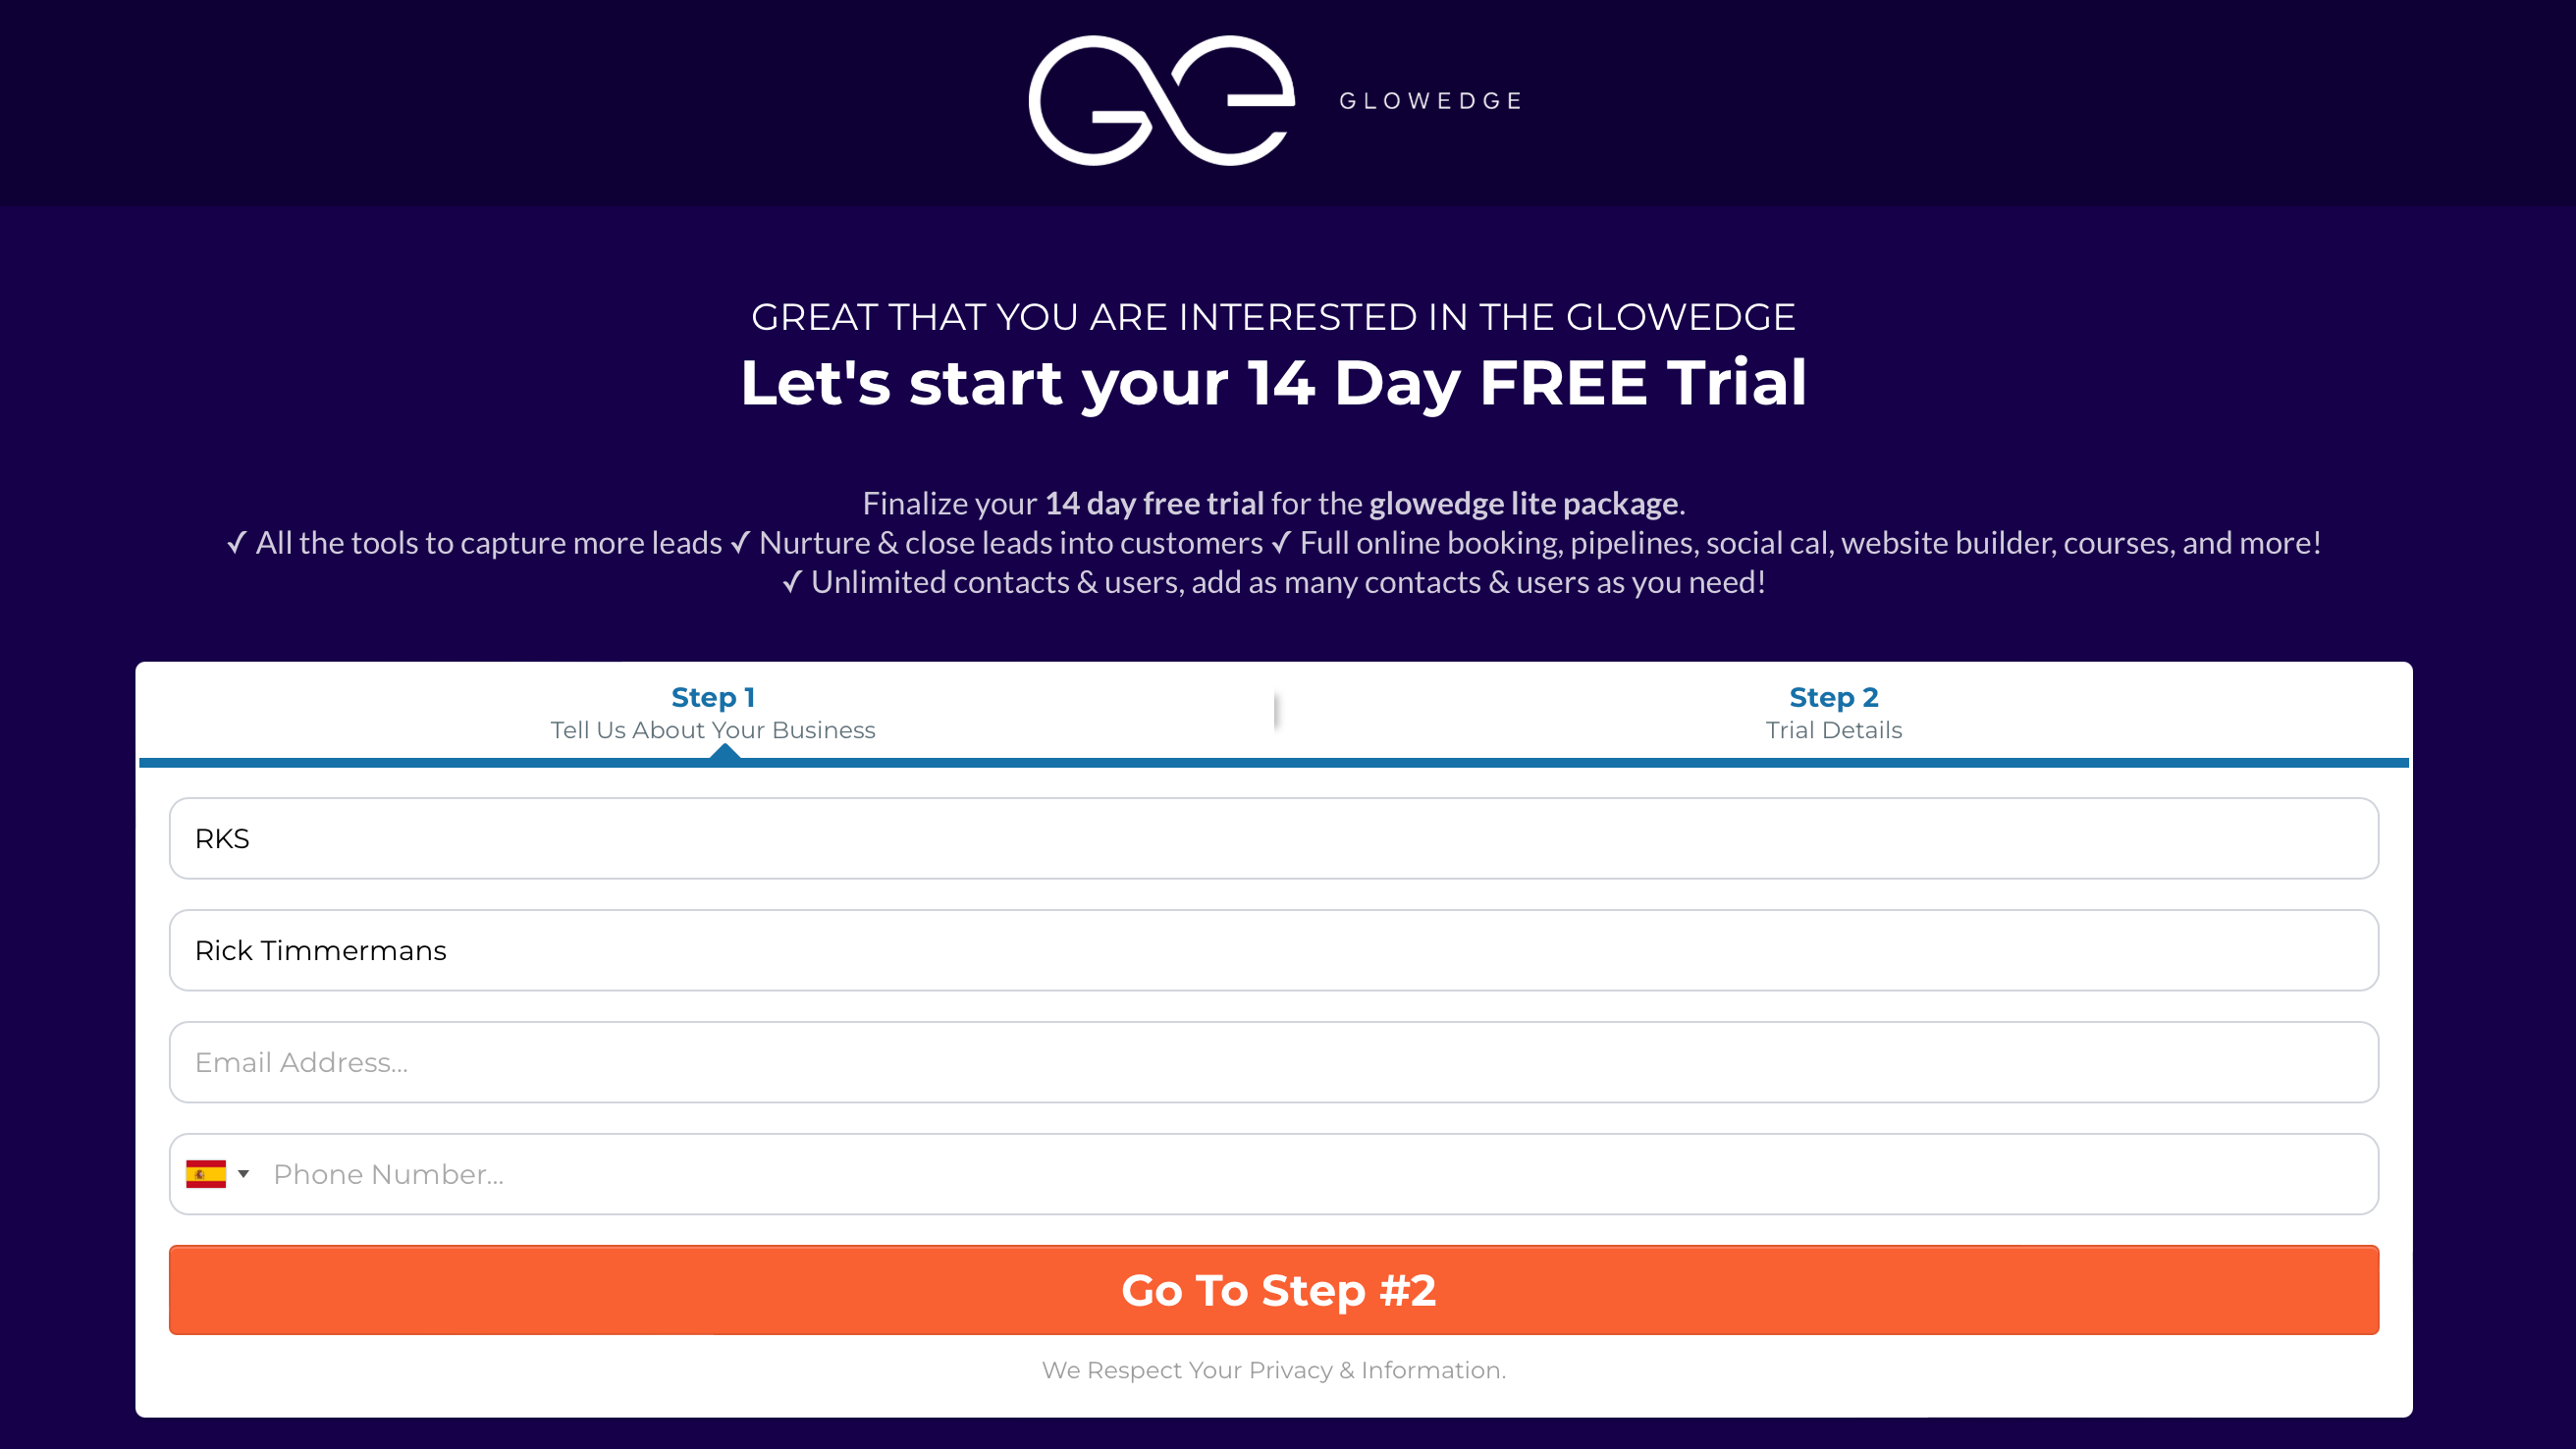
Start by visiting the Glowedge website and sign up for a free trial. Enter your email address and create a password to access the platform.
Step 2: Set up your account
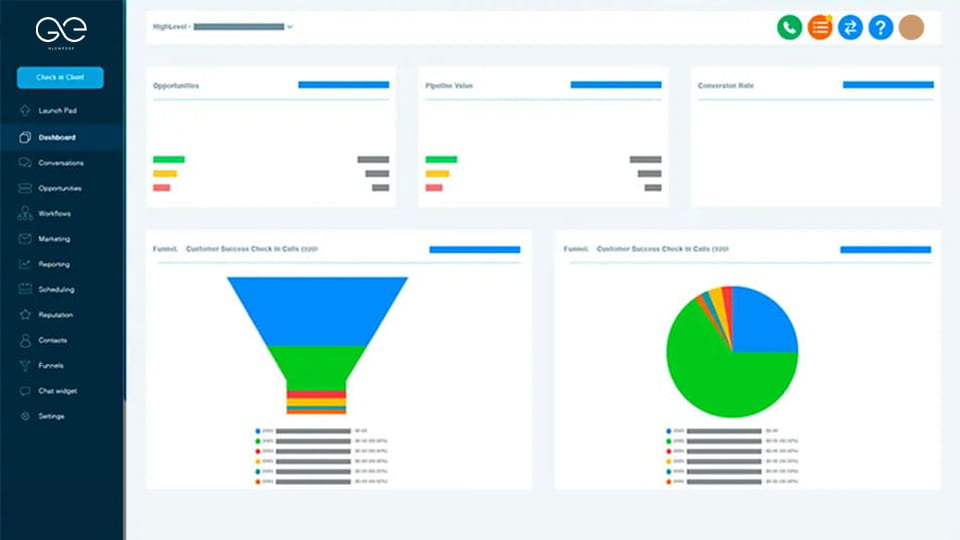
Configure your business information, including name, contact details, and branding elements. The Glowedge setup wizard will guide you through the process.
Step 3: Import your contacts
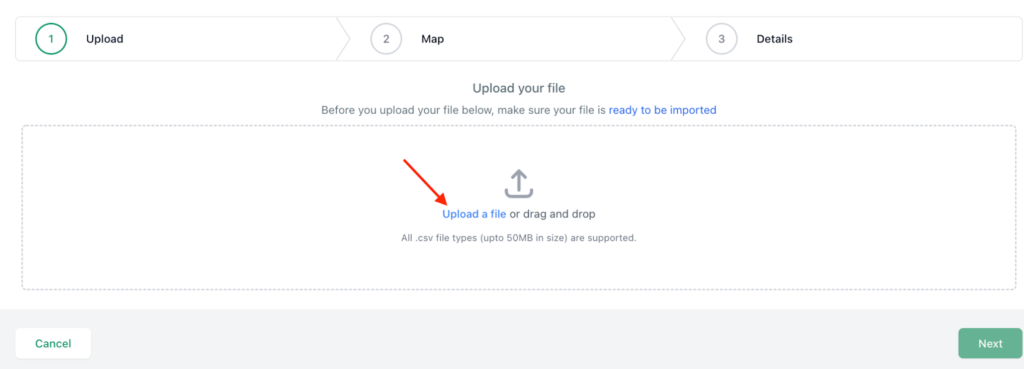
Upload a CSV file with your contact details. Ensure the data is imported accurately by mapping the fields correctly.
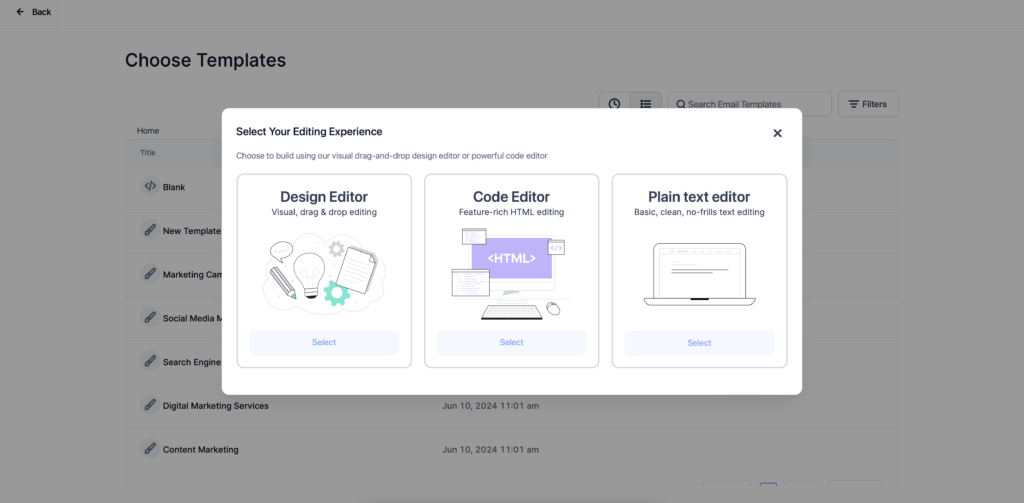
Step 4: Create your first campaign
Navigate to the "Campaigns" section to create email, SMS, or voice marketing campaigns. Set your target audience, message content, and schedule.
Step 5: Build your sales funnel
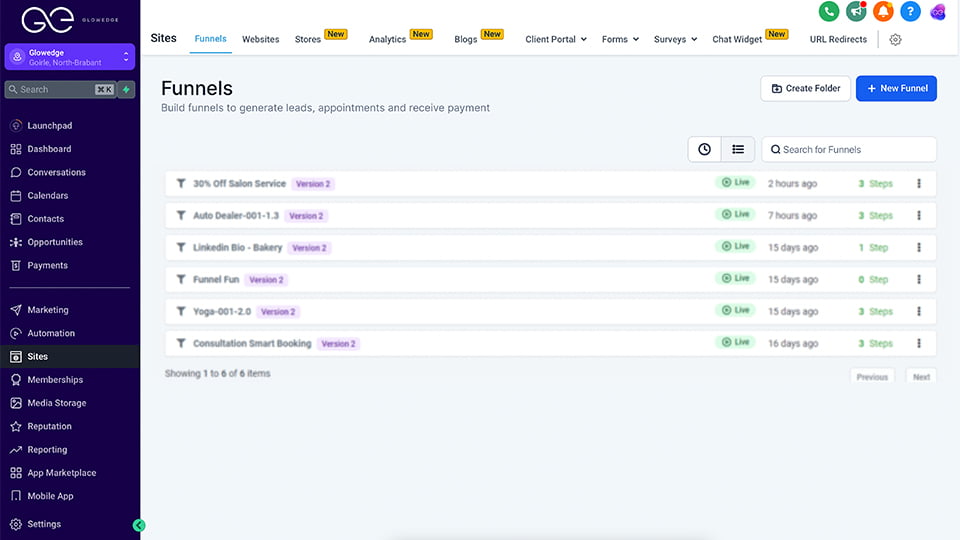
Use Glowedge's funnel builder to create sales funnels. Choose from pre-designed templates or customize your own using the drag-and-drop editor.
Step 6: Design your website
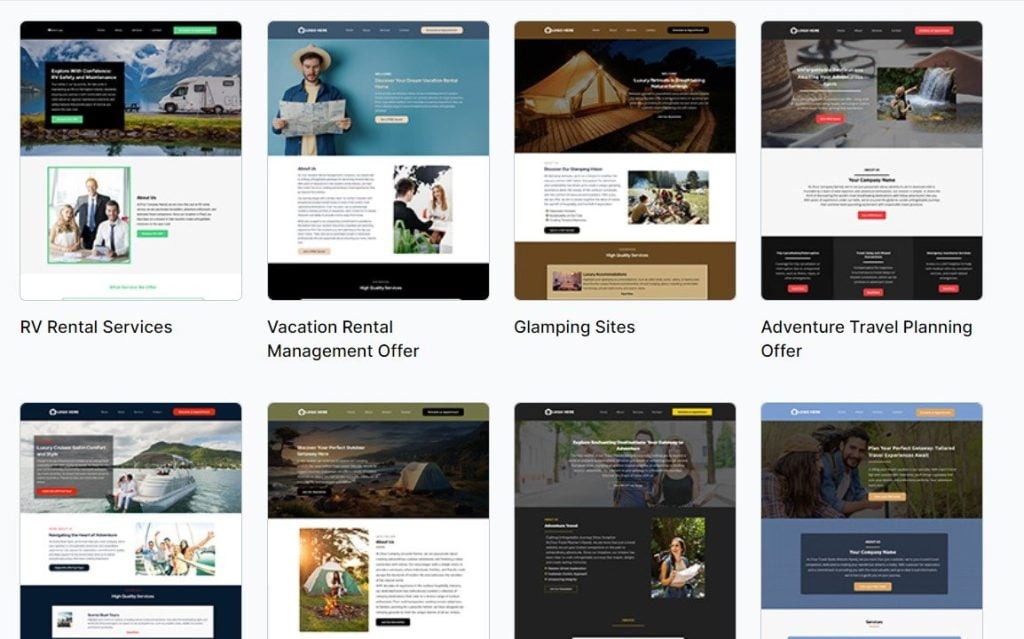
Create a professional website with Glowedge's website builder. Choose a template or start from scratch and customize it to match your brand identity.
Step 7: Set up automation
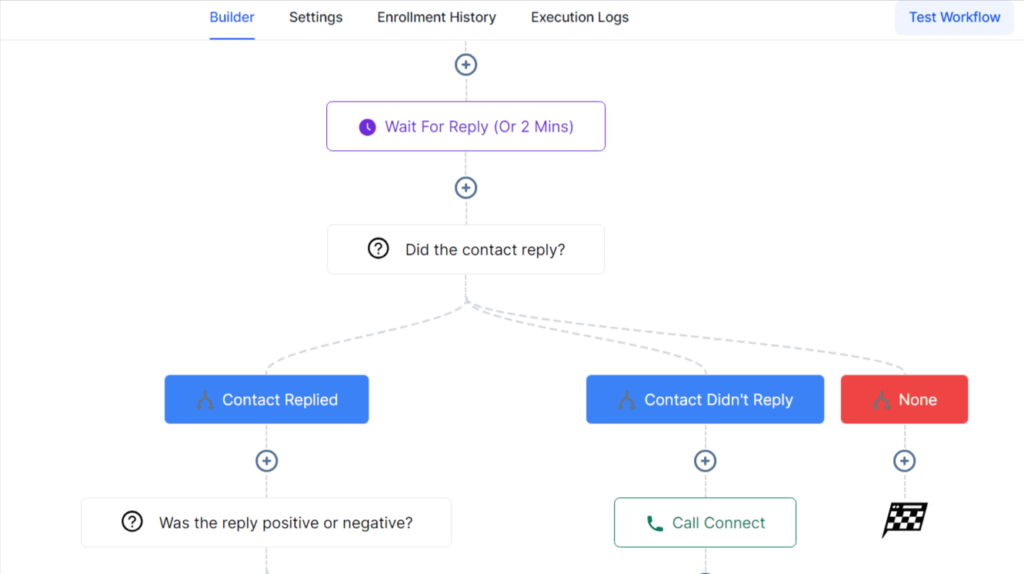
Automate workflows for tasks like follow-up emails and lead assignment. Create custom workflows or use ready-made ones to streamline processes.
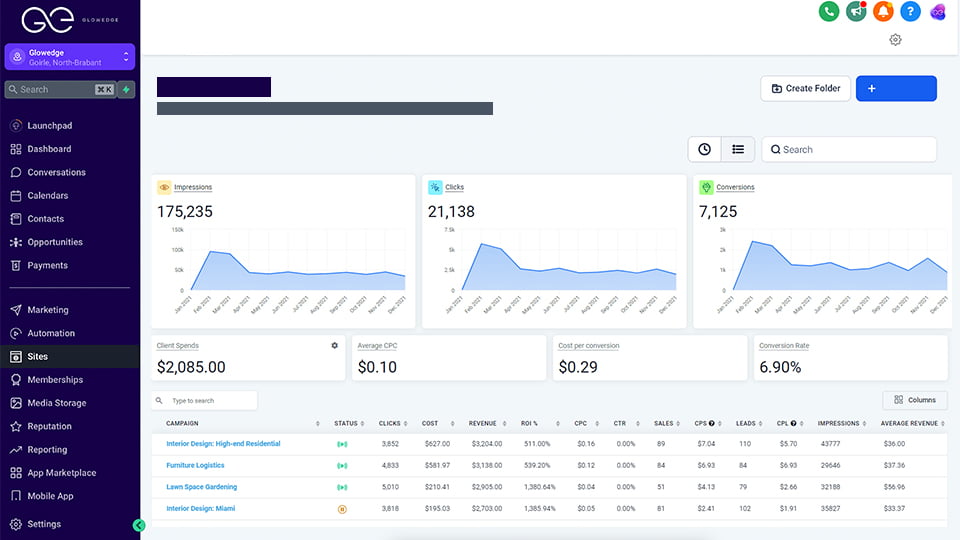
Step 8: Track your performance
Use Glowedge's analytics and reporting tools to monitor campaign performance, view statistics, and make data-driven decisions to optimize your strategies.
Tips for success
- Keep contacts updated: Regularly import new contacts and remove inactive ones.
- Test campaigns: Ensure your messages are delivered correctly.
- Monitor metrics: Adjust strategies based on performance data.
- Leverage automation: Save time and reduce manual tasks.
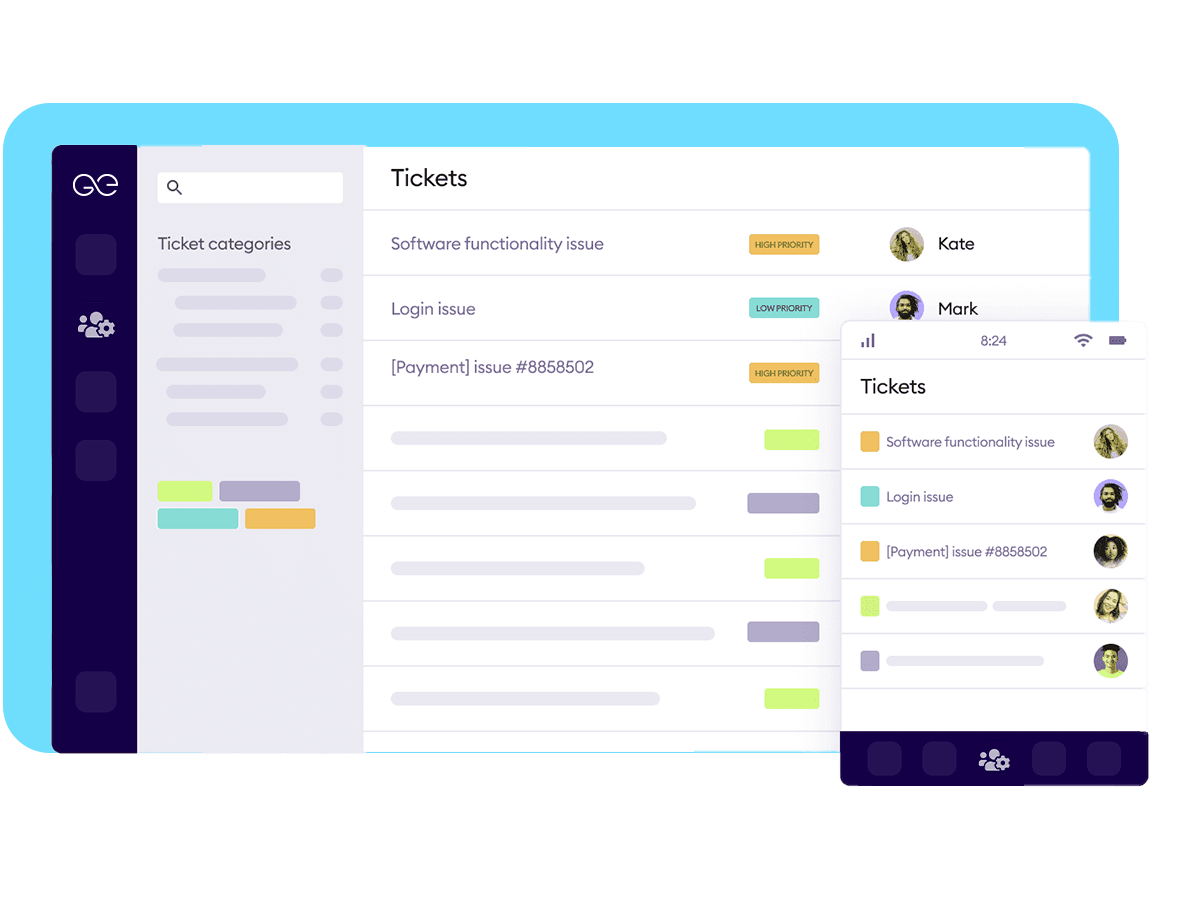
- Seek support: Contact the Glowedge support team if you encounter any issues.
Outsourcing solution
Glowedge also offers a unique outsourcing solution, taking all marketing activities off your hands. Partner with a dedicated Customer Success Manager to set up and optimize your Glowedge platform. This service allows you to focus on your core business while your marketing strategies are expertly managed and executed, saving you time and increasing success.
Conclusion
Getting started with Glowedge is easy and can significantly improve your marketing and CRM efforts. By following this guide, you can set up your account, import contacts, create campaigns, build sales funnels, design a website, and automate workflows—all within a single platform. Glowedge is a valuable tool for businesses of all sizes, offering comprehensive features and ease of use. The additional outsourcing solution further supports entrepreneurs by managing marketing activities, allowing them to focus on growing their organization.